Waterproof Floors, Dry Bathrooms, and Rain Gear for Home Projects
Waterproof Floors, Dry Bathrooms, and Rain Gear for Exterior Home Work
Stop moisture before it starts. installing floors in a wet area, waterproofing a bathroom renovation, or keeping up with exterior maintenance through a wet season — the materials and prep work matter far more than most guides admit. Here’s the practical breakdown, starting with the floor under your feet.
Waterproof Flooring for Wet Areas: An Honest Comparison
The term “waterproof flooring” gets used loosely in showrooms. Luxury vinyl plank (LVP) is genuinely waterproof — the core won’t swell from moisture exposure. Laminate marketed as “water-resistant” will buckle if water sits on it for more than a few hours. The distinction matters when you’re choosing flooring for bathrooms, laundry rooms, mudrooms, or below-grade basements.
| Flooring Type | True Waterproof? | Cost per Sq Ft | Best Application | Top Brands |
|---|---|---|---|---|
| Luxury Vinyl Plank (LVP) | Yes | $2–$7 | Bathrooms, basements, laundry rooms | LifeProof, COREtec, Shaw Floorté |
| Porcelain / Ceramic Tile | Yes (grout is not) | $1–$8+ | Shower stalls, wet entryways | Daltile, MSI, American Olean |
| Laminate AC4/AC5 | No — water-resistant only | $1.50–$5 | Low-splash areas only | Pergo, Mohawk RevWood, QuickStep |
| Engineered Hardwood | No | $4–$12 | Bedrooms, living rooms | Bruce, Mirage, Barlinek |
| Polished Concrete / Epoxy | Yes | $3–$10 installed | Basements, garages | Rust-Oleum EpoxyShield, Quikrete |
LVP Is the Default Pick for Most Wet Rooms
For bathrooms and laundry rooms, start with LVP and work backward only if something specific doesn’t fit. LifeProof Luxury Vinyl Plank — sold at Home Depot, $3–$5 per square foot — has a 20-mil wear layer on premium lines and handles sustained moisture without swelling. COREtec Plus has a thicker 6mm core, slightly better sound dampening underfoot, and runs $4–$6 per square foot at most flooring retailers. Both float over existing subfloors without adhesive, which makes them realistic DIY installs over a single weekend.
For bedrooms, the waterproofing question is mostly irrelevant. Unless your bedroom shares a poorly ventilated wall with an en-suite bathroom, moisture isn’t the primary risk. Engineered hardwood from Bruce or Barlinek will perform for decades in a bedroom with no special treatment. Spend the budget on plank thickness — at least 5/8 inch — for better underfoot stability and sound absorption.
When to Choose Tile Over LVP
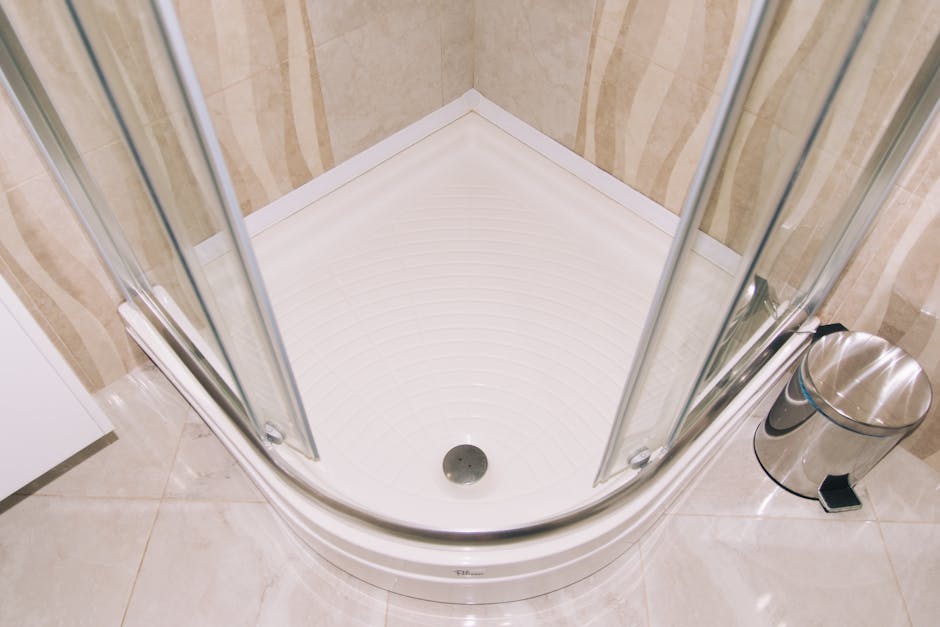
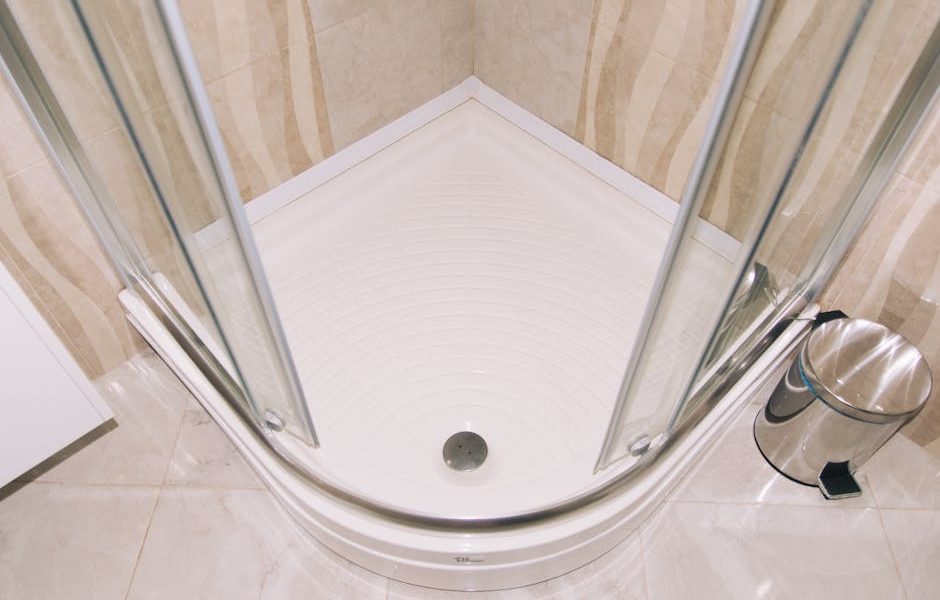
Inside shower stalls and on wet room floors with floor drains, tile is still the right call. LVP isn’t rated for direct spray contact — locking joints that are exposed to standing or running water daily will eventually allow water infiltration at the edges. Daltile Rittenhouse Square subway tile runs $1.89 per square foot and is beginner-friendly for a DIY install. American Olean Bevalo porcelain starts around $2.50 per square foot and handles high-traffic wet floors without issue.
Practical tip: For large-format tile (24×24 inches or bigger), use a 1/2-inch square-notch trowel to ensure full back-coverage on each tile. Smaller notches leave voids that let moisture migrate under the tile over time — exactly the failure mode you’re trying to prevent.
Flooring for Bedrooms: Prioritize Comfort Over Waterproofing
A bedroom floor almost never needs to be waterproof. What it does need: warmth underfoot, acoustic dampening, and dimensional stability over years of use. Engineered hardwood with a real wood veneer (3mm or thicker) delivers all three. If budget is tight, a quality LVP in a wood-look finish performs nearly as well and costs less. The one exception: if your bedroom has a connected en-suite with a wet-room layout and no door, choose LVP and extend the same product through both spaces for visual continuity and protection.
Bathroom Waterproofing: Why Most DIY Installs Eventually Fail
The single most common cause of bathroom water damage isn’t plumbing failure. It’s inadequate waterproofing behind tile — damage that builds invisibly for years before surfacing as mold, swollen drywall, or tiles that suddenly pop loose.
The Waterproofing Membrane Nobody Installs
Cement board (HardieBacker, Durock) is a tile backer, not a waterproof barrier. It’s dimensionally stable when wet, but water passes through it. Before tiling any shower or wet-room floor, you need a dedicated waterproofing membrane applied over the cement board.
Two solid options: RedGard liquid membrane by Custom Building Products (around $50 per gallon at Home Depot) and Schluter KERDI sheet membrane (approximately $1.50 per square foot). RedGard goes on like paint — roll or brush it onto the surface, wait for it to cure from bright red to a darker tone (24 hours at 70°F), and tile over it. Apply two coats minimum. KERDI is a thin polyethylene sheet embedded in thinset — easier to control in tight corners, but requires careful lapping at seams.
Pay most attention to the floor-to-wall transition and the curb if you have a shower threshold. These are the highest-stress waterproofing points in the whole enclosure. Build up three coats of RedGard at inside corners, or embed Schluter KERDI-BAND (a pre-cut fabric tape) in thinset before the full membrane goes on.
Grout, Epoxy Grout, and Caulk — What Goes Where
Standard sanded or unsanded cement grout works fine on field joints. But never grout movement joints — the corners where floor meets wall, where the shower pan meets the wall, or around a tub ledge. These two surfaces expand and contract at different rates. Cement grout will crack within a year. Use color-matched silicone caulk at every inside corner, without exception.
For high-traffic shower floors, epoxy grout (Laticrete SpectraLOCK, $40–$60 per kit) is worth the extra effort. It doesn’t need sealing, resists staining from soap scum and shampoo, and doesn’t absorb moisture. The tradeoff: it sets fast. Work in small sections — no more than what you can grout and clean in 20 minutes per batch — and have a partner on cleanup if possible.
Signs You Need to Strip It and Start Over
Soft spots underfoot. Tiles that flex or sound hollow when tapped. Grout that crumbles under light pressure. A mildew smell that regular cleaning doesn’t eliminate. These aren’t cosmetic problems — they mean the substrate underneath is compromised. Patching over failed waterproofing just delays the same failure.
When buying a home with tile that supposedly “just needs touch-up,” knock on each tile with a screwdriver handle. A hollow sound means no adhesive contact behind it — a void that holds moisture. Price in a full gut-and-retile if you find multiple tiles like this, because that is where you’re heading.
Tip: When demoing a failed shower, rent a commercial dehumidifier and dry the exposed framing and subfloor for 48–72 hours before re-waterproofing. Tiling over damp lumber just rebuilds the same mold problem inside the new wall.
The Rain Gear That Makes Outdoor Home Projects Actually Workable
Exterior home maintenance doesn’t pause for weather. Gutter cleaning, deck sealing, exterior painting, trim repairs, roof inspections — skip these because of rain and you fall behind on maintenance cycles that have real consequences. The answer isn’t waiting for dry windows that may be weeks away. It’s having the right gear to make wet days productive.
Two things that don’t work: a cotton hooded sweatshirt (soaks through in 20 minutes and stays cold and wet for hours) and a rubber poncho (restricts movement completely, traps heat, and is useless on a ladder). What works is a jacket-and-pants rain suit — lightweight, packable, and actually rated for sustained rain rather than just mist.
What the Gear Needs to Do
For exterior home work, the criteria are straightforward:
- Full suit — jacket and pants — because rain runs off a jacket and down your legs if the pants aren’t there
- Lightweight enough to climb and reach in without the suit fighting you
- Snap closures or sealed seams over the main zipper — this is where rain enters if the design is poor
- An adjustable hood drawcord that functions in wind
- Packable enough to live permanently in your tool bag or truck, so it’s there when you need it
LOOGU Men’s Rain Suit ($29.99) — What Buyers Actually Say
The LOOGU Men’s Rain Suit in Navy/Black hits every one of those criteria at $29.99. It ships as a full jacket-and-pants combo, has 332 verified reviews, and holds a 4.3-out-of-5 rating. One verified reviewer confirmed it “kept him dry while hunting in the rain” — hunting means sustained outdoor exposure across hours in genuinely bad weather, not a quick errand in a drizzle.
The jacket has snap closures layered over the main zip — the design detail that separates rain gear that works from gear that leaks at the front seam during extended wear. The hood has a quick-pull string lock, which matters when you’re on a roof and the wind picks up. Multiple buyers describe the overall feel as having a “nice light flexible feel,” which is the difference between gear you’ll actually wear and gear that sits in a bag.
Real caveats from buyers: this suit runs large — almost all reviewers recommend ordering one size smaller. The color is also noticeably lighter in person than the product images suggest. One buyer reported a leg seam tearing during aggressive brush-clearing work. For heavy site clearance with sharp vegetation, a heavier-duty suit is the right call. For standard exterior home project work — gutters, painting, deck maintenance — it delivers solid performance at a hard-to-argue-with price.
Keep It in the Bag, Not the Closet
The suit packs down small. Leave it in your tool bag or in the back of your vehicle, not hanging in a closet. Rain gear that requires a trip inside to retrieve gets skipped every single time. Rain gear already in your hand gets used. That’s the whole system.
Cold and Wet: The Layer Most People Skip
A rain suit handles the wet problem. Below 45°F in sustained rain or wind, it doesn’t handle the cold. For extended exterior work in cold wet conditions, add the LOOGU Camo Balaclava with Fleece ($29.99, 4.4 out of 5 stars) under your hood. It covers the neck and lower face — the two surfaces where heat loss accelerates fastest during outdoor work in cold rain. At this price point there is no real reason to skip it if you’re working through winter or early spring weather.
Five Waterproofing Mistakes That Ruin New Floors and Bathrooms
These are the decisions that look fine at install time and produce failures two to three years later.
- Using moisture-resistant drywall in wet areas. Green board is standard drywall with a slightly more moisture-resistant paper facing. It slows absorption — it does not stop water. In shower surrounds or anywhere tile sees direct water contact, use cement board (HardieBacker 500 or Durock) or foam tile backer (Schluter Kerdi-Board). Green board belongs on a dry bathroom vanity wall. It has no business in a shower.
- Grouting corner joints. This failure is common enough to repeat. Inside corners — where the shower wall meets the floor, where the tub lip meets the wall — are movement joints. The two surfaces expand and contract at different rates. Cement grout across these joints will crack within twelve months. Use color-matched silicone caulk at every inside corner, no exceptions, every time.
- Installing LVP over a damp subfloor. New concrete continues releasing moisture vapor for weeks after pouring. Test it: tape a 24×24-inch sheet of plastic flat to the slab, seal all four edges with tape, and leave it for 24 hours. Condensation under the plastic means the slab is still emitting moisture vapor. Install LVP now and you’ll see cupping, buckling joints, and mold growth within a season.
- Skipping expansion gaps at walls and doorways. LVP expands and contracts with temperature changes — this is normal and expected. It needs a 1/4-inch gap at all walls and proper T-molding transitions at every doorway. Skip these and the floor has nowhere to go when it expands on a hot day. It will buckle upward in the middle of the room, especially in spaces that heat up significantly in summer.
- Sealing grout too early. Grout sealer locks in whatever is already present — including residual moisture from the curing process. Wait a minimum of 72 hours after grouting before applying any penetrating sealer, and longer in cold or humid conditions. Sealing prematurely traps moisture inside the grout body and causes efflorescence: a white, chalky mineral deposit that reappears after cleaning and is difficult to fully eliminate.
The pattern across all five is the same: the mistake happens during prep, not installation. The finish layer — whether it’s tile, grout, or LVP click-lock planks — performs well when the substrate work is done correctly. Slow down before you start. The prep is what lasts.