How to Regrout Bathroom Tile Without Tearing It Out
Old grout does not automatically mean the tile needs replacing. That is the common misconception. If the tiles are still firmly attached and the wall behind them is dry, you can remove the failing grout, pack in new grout, and make the whole bathroom look newer for a fraction of a full renovation. The catch is simple: new grout will not fix loose tile, rotten backing, or an active leak.
When Can You Regrout Bathroom Tile?
Regrout bathroom tile when the grout has failed but the tile assembly is still sound. That means the joints may be stained, cracked, powdery, or missing in spots, while the tiles remain solid and the surface behind them shows no sign of movement or water damage. This is the right repair for an ugly, tired bathroom that does not need a complete rebuild.
Signs that regrouting will work
Press each tile with your thumb. It should not rock, click, or move independently from its neighbors. Tap the face lightly with the handle of a screwdriver. A consistent hard sound is a good sign; a hollow sound can mean the tile has lost contact with the backing. Look around the tub, shower corners, toilet, and plumbing penetrations for swelling, soft drywall, dark stains, or a persistent musty smell.
Also check the joint width. Most bathroom grout joints measure between one-sixteenth and one-half inch. Measure before buying replacement grout because the wrong aggregate size can leave a rough, weak joint.
When regrouting is the wrong repair
Do not cover cracked grout if the tiles move. Do not grout over silicone in corners, along the tub edge, or where two different surfaces meet. Those joints need flexible sealant because walls and fixtures move at different rates. Do not start a 2026 bathroom refresh until you find the source of any active leak. New grout can hide the evidence for a short time while water continues damaging the structure underneath.
How Long Does Bathroom Regrouting Take?
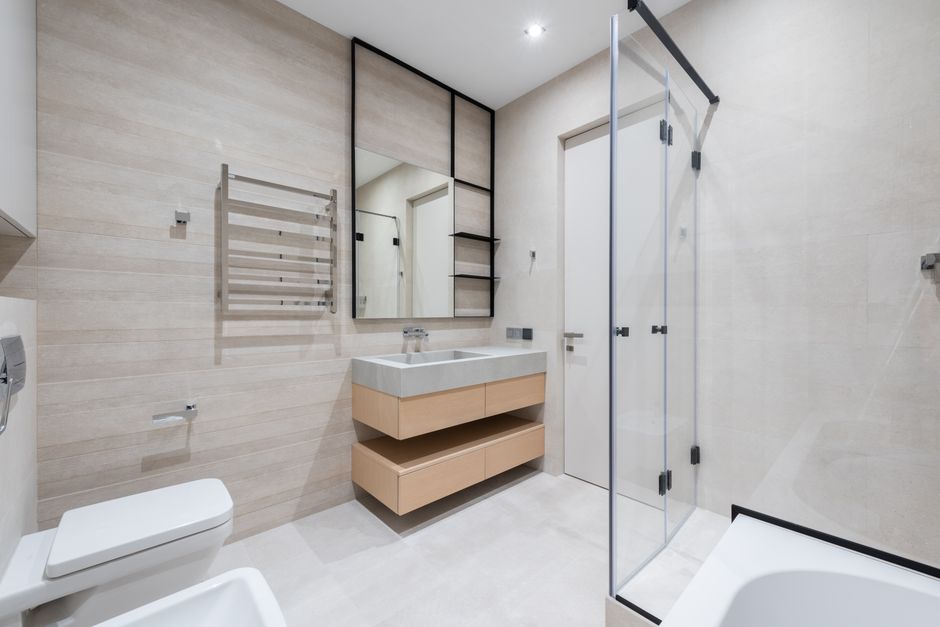
A small shower wall may take one working day for grout removal and installation, plus the time needed for curing. The job feels slow because grout removal is careful work. Rushing that stage causes most failures.
Practical bathroom regrouting timeline
| Stage | Typical time | What must happen |
|---|---|---|
| Inspection | 30 to 60 minutes | Check for loose tile, leaks, soft backing, and damaged joints. |
| Surface protection | 20 to 30 minutes | Cover the tub, drain, floor, fixtures, and nearby painted surfaces. |
| Grout removal | 2 to 6 hours | Remove at least two-thirds of the old joint depth without chipping tile edges. |
| Cleaning | 30 to 60 minutes | Vacuum dust, wipe the joints, and let trapped moisture dry. |
| New grout installation | 1 to 3 hours | Pack the joints fully, strike them evenly, and wipe the tile face clean. |
| Initial cure | 24 to 72 hours | Keep the surface dry and follow the grout label before using the shower. |
| Flexible sealant | 30 to 60 minutes | Seal corners, changes of plane, and fixture edges after the grout has set. |
The table assumes average ceramic or porcelain tile and ordinary cement grout. Dense stone, narrow joints, heavy mildew, and a large shower can add hours. The safest schedule is two days: remove and install on day one, then allow the surface to cure before exposing it to regular water.
How to Remove Old Grout Without Damaging Tile
Grout removal is the part that decides whether the repair looks professional. New grout cannot bond to a dusty film, loose crumbs, or a shallow groove. You need a clean cavity with enough depth for the new material to lock in place. That does not mean digging all the way to the waterproof membrane. It means removing the weak material and stopping before you damage the tile or backing.
Use the right removal method
For a few damaged joints, a carbide grout saw works well. Hold it centered in the joint and use short strokes. For a full shower, an oscillating tool with a grout-removal blade saves time, but it can also cut through waterproofing or chip glazed tile if you push hard. Keep the blade moving and let the tool do the work. At inside corners, use a sharp utility knife to cut out old flexible sealant before touching the nearby grout.
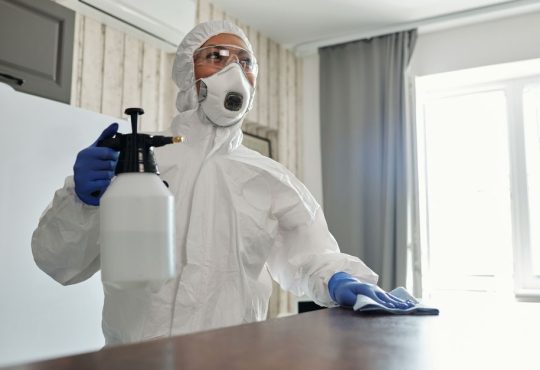
Wear eye protection and a respirator rated for fine dust. The dust is not harmless, and bathroom work puts your face close to the joint. Keep a vacuum nozzle near the blade instead of sweeping debris across the room. A plastic scraper removes soft residue without scratching glazed tile.
Clean, dry, and inspect the joint
After removal, vacuum every joint and wipe the tile with a barely damp sponge. Do not flood the wall. Moisture trapped in the joint can weaken the fresh grout and make the color dry unevenly. Let the surface dry fully, especially around the tub and shower floor.
Inspect the exposed joint for movement, gaps, and crumbling backer material. If the substrate is soft or the cavity stays damp, stop. The visible grout is not the real problem. Repair the water path first. A cosmetic patch over a wet wall wastes time and can make later demolition harder.
Before mixing grout, lay out a test area in an inconspicuous corner. This reveals how the color looks against the existing tile and confirms that the joint depth is even. It is a small step that prevents a whole-wall mistake.
How to Regrout Bathroom Tile Step by Step
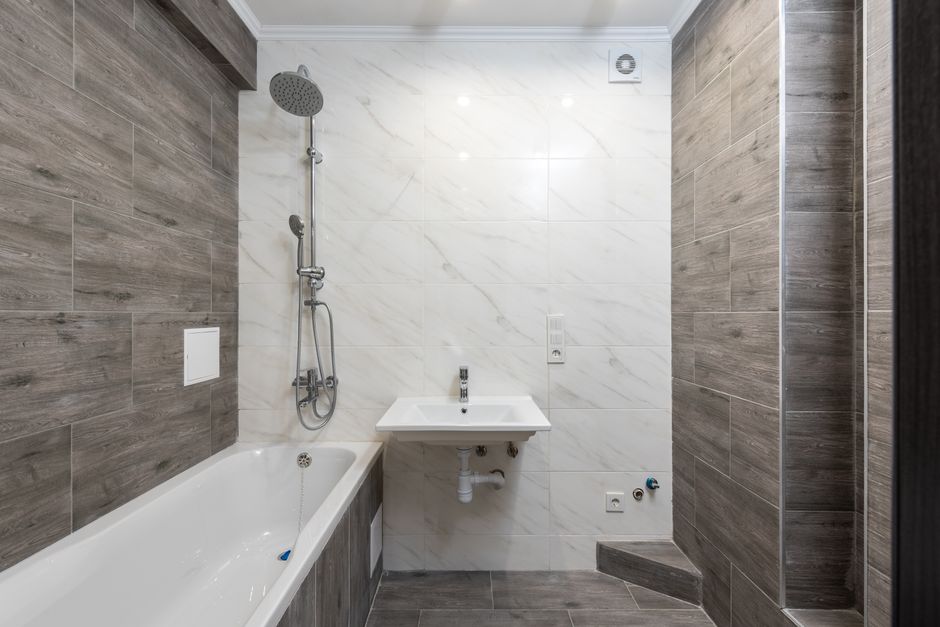
Use a small batch and work in manageable sections. A full bucket of mixed grout can stiffen before you finish shaping it.
Prepare the surface and choose the grout
- Remove every loose crumb and vacuum the joints. Protect the drain with mesh or a removable cover.
- Read the joint-width range on the bag. For narrow joints, MAPEI Ultracolor Plus FA is a practical choice because its fine aggregate suits joints from one-sixteenth to three-quarters of an inch. Custom Building Products Prism Ultimate Performance Grout is suited to joints from one-sixteenth to one-half inch.
- For a shower that sees heavy use and needs strong stain resistance, LATICRETE SpectraLOCK 1 is the better technical choice. It is epoxy grout, so it costs more and requires stricter mixing and cleanup. Do not choose epoxy simply because the label sounds tougher; its shorter working time punishes sloppy work.
- Mix only the amount you can place within the product’s working time. Add powder to the measured liquid or water, not the other way around, and never thin stiffening grout with extra water.
Pack, shape, and cure the joints
- Hold a rubber grout float at about forty-five degrees and push grout diagonally across the joints. Make several passes so the cavity fills from the bottom up.
- Scrape excess grout from the tile face with the float held more upright. Leave the joints full rather than scooping material back out.
- Wait until the grout firms up, then wipe with a damp sponge using light diagonal passes. Rinse often. A dripping sponge pulls grout out and creates low spots.
- After the haze dries, polish the tile with a clean microfiber cloth. Do not keep adding water to chase the haze.
- Once the grout reaches the label’s cure point, apply flexible sealant at corners and fixture edges. GE Advanced Silicone 2 Kitchen & Bath is a 100% silicone option for those movement joints; it is not a substitute for grout between fixed tiles.
For most ceramic-tile bathroom repairs, MAPEI Ultracolor Plus FA is the best balance of workable texture, joint range, and simple cleanup. Pick epoxy only when stain resistance justifies the extra cost and tighter installation window.
What If the New Grout Cracks or Stays Discolored?
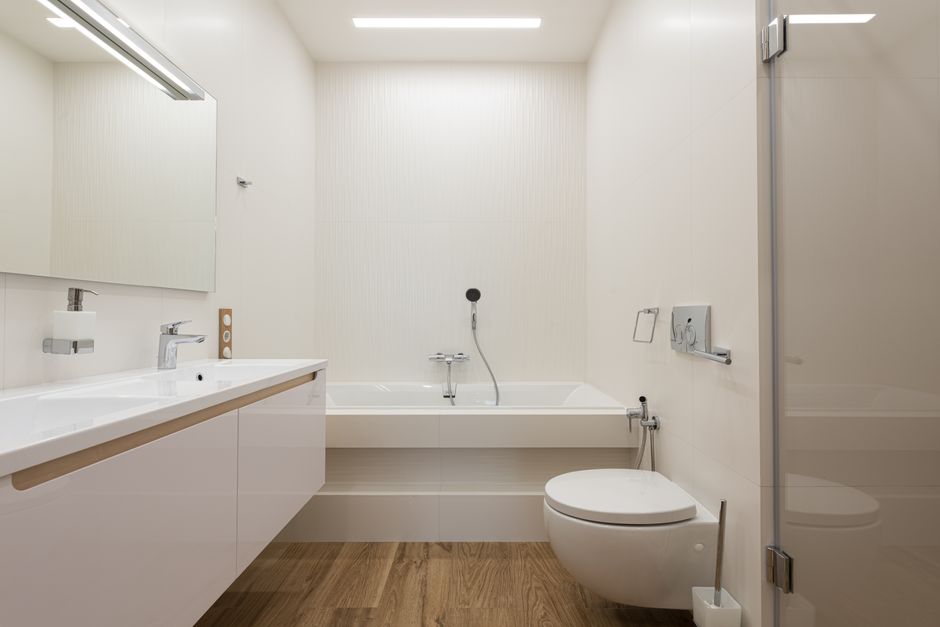
Why does fresh grout crack?
Cracking usually points to movement, excess mixing water, shallow grout removal, or a joint that should have received silicone. If the same line cracks again at the tub edge or a room corner, stop regrouting that line. Remove the grout, clean the gap, and use a flexible bathroom sealant. If cracks appear across many fixed-tile joints, inspect the backing and tile bond before making another cosmetic repair.
Why does the color look uneven?
Uneven color usually comes from inconsistent water, incomplete mixing, damp joints, or wiping too early. Mix each batch with the same measured amount of water. Do not add water during cleanup. Work in small sections and let the joint firm before sponging. Efflorescence can also leave pale patches when moisture carries salts through cement grout; drying the assembly and correcting water intrusion matters more than applying another coat of color.
Should you seal the grout?
Sealer can slow staining on porous cement grout, but it does not make grout waterproof and it will not repair cracks. Follow the grout maker’s instructions, wait for the full cure time, and test the sealer in a hidden spot. Epoxy grout normally does not need the same penetrating sealer used on cement grout. For most shower walls with sound backing, a correctly packed cement grout joint followed by careful drying is a better priority than buying a premium sealer.
My recommendation is specific: if the tile is solid and the wall is dry, remove the old grout to a clean depth, use MAPEI Ultracolor Plus FA for ordinary ceramic or porcelain tile, and finish every corner and fixture edge with 100% silicone. If the tile moves or the backing is damp, skip regrouting and repair the assembly first. That decision saves more money than any grout color can.