
Outdoor Kitchen Layout: How to Plan Materials That Last
You have a 12-by-20-foot patio, a grill in a cardboard box, and three possible spots beside the back door. The wrong layout will make you carry raw meat across the yard, squeeze past guests, and wipe grease from a counter that should have handled it easily. Plan the movement first, then choose the grill and finishes.
Plan the outdoor kitchen footprint before choosing a grill
The best starting point is an accurate drawing, not a showroom visit. Measure the patio, doors, windows, roofline, steps, property lines, and the distance to the house. Mark each measurement on graph paper or a free floor-planning app, then test the cooking path from refrigerator to prep counter to grill to dining table.
Build the work triangle around real cooking steps
- Place cold storage nearest the house or back door so groceries do not cross the hot zone.
- Give the prep counter at least 36 inches of continuous width and 24 inches of depth. This is enough space for a cutting board, tray, and mixing bowl.
- Put the grill beside, rather than directly against, the main prep surface. Leave 18 to 24 inches of landing space on one side for raw food and 24 to 36 inches on the other for cooked food.
- Keep the serving counter facing the dining area. Guests should reach plates without standing in front of the burners.
- Draw a 36-inch walking lane in front of every working station. Increase it to 48 inches where two people will pass each other.
Mark heat, smoke, and door clearances
Use the grill manual and local building rules for exact clearance distances because models and fuel types vary. As a planning target, keep the cooking head away from siding, vinyl fencing, low branches, and fabric awnings, and never tuck a gas grill into a narrow three-sided pocket where heat and smoke can collect. Also show the path for a propane tank, gas line, electrical conduit, drainage, and service access; a beautiful island that cannot be opened for repairs becomes an expensive box. My recommendation is to reserve at least 10 feet of usable counter run for a full cooking station, even if the first sketch looks smaller.
Compare outdoor kitchen layouts by movement, not looks
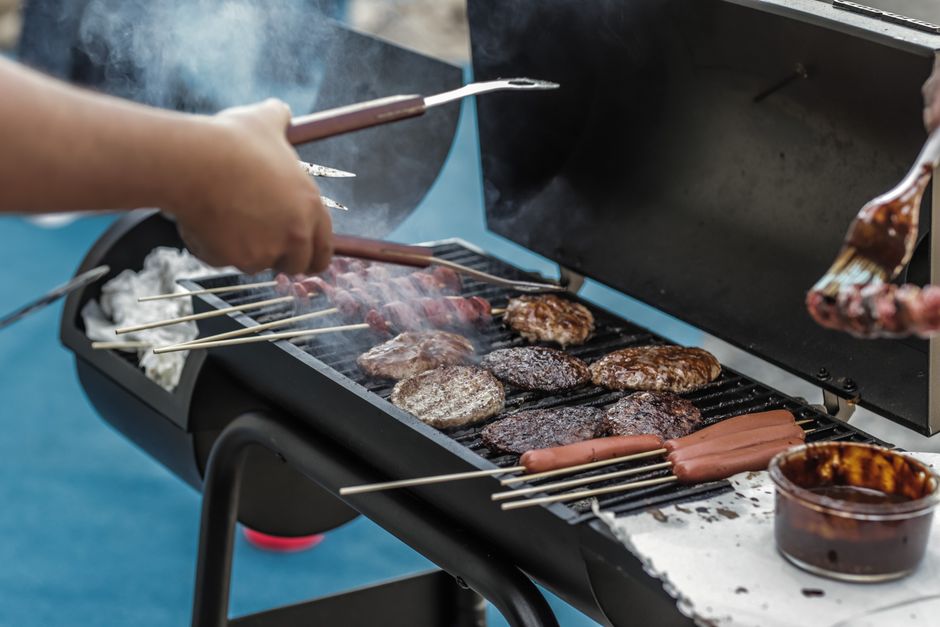
Choose the layout that shortens the distance between storage, preparation, cooking, and serving. The most attractive shape on a plan can still fail if the grill blocks a door or forces guests through the work zone.
| Layout | Typical footprint | Best use | Main drawback |
|---|---|---|---|
| Straight run | 8 to 12 feet wide and 30 to 36 inches deep | Narrow patios, balconies, and walls beside the house | Less separation between hot and cold tasks |
| L-shaped | 8 by 8 feet minimum for a useful corner | Most family patios and entertaining areas | Inside corner can waste counter space |
| U-shaped | 10 by 10 feet or larger | Large covered patios with frequent cooking | Can feel cramped below 48-inch walkways |
| Island | 8 to 12 feet long with 42 to 48 inches around it | Open yards where the cooking area should face guests | Needs longer utility runs and more finished sides |
Pick a straight run for a narrow patio
A straight run is the clear winner when the available wall is less than 10 feet long or when you need to preserve an open walking route. Put the grill at one end, prep space in the center, and storage at the far end so heat does not sit beside the back door. It costs less to build because the counter, cabinets, and utilities follow one line, but it needs careful sequencing. A sink or refrigerator can quickly consume the prep surface, so use a removable cutting board over part of the sink or add a small rolling cart.
Choose an L or island for entertaining
An L-shaped kitchen gives you a separate serving leg and keeps the cook facing the people outside. It is my preferred layout for a typical 12-by-20-foot patio because one side can hold the grill and prep counter while the shorter side stores drinks, plates, and tools. Choose an island only when you can protect a 42-inch circulation zone on every working side. If chairs, planters, or a sliding door reduce that lane, the island will create a traffic jam every time dinner is served.
Match the grill to the way you actually cook
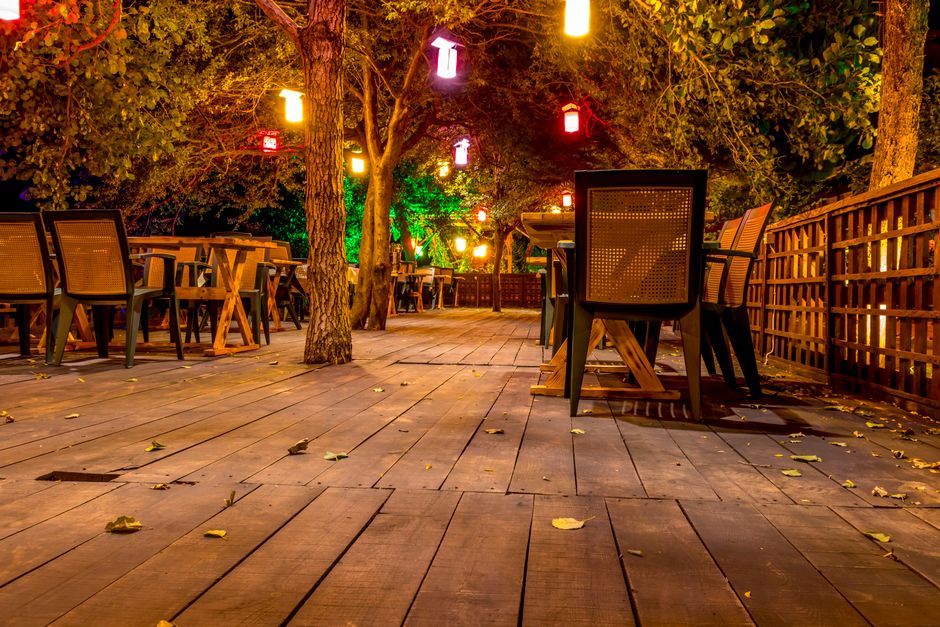
For a flexible first outdoor kitchen, buy a freestanding gas grill before committing to a built-in island. You can move it, replace it, and test your cooking habits without cutting a permanent opening in the counter. Build around a built-in model only when the location, fuel line, and cooking style are already settled.
Best value for a compact flexible station: Weber Spirit E-325
The Weber Spirit E-325 Gas Grill is the practical pick for a small patio or a homeowner still testing the layout. The manufacturer lists 31,000 BTU per hour, a 360-square-inch primary cooking area, and 450 square inches of total cooking space. Its listed dimensions with the lid open are 48.30 inches wide by 30.97 inches deep, so draw the full open-lid footprint rather than only the closed cabinet. The manufacturer page showed a $549 list price reduced to $499 when checked in 2026. Choose it when propane portability and lower entry cost matter more than a seamless built-in appearance.
Best permanent gas station: Napoleon Built-In 500 Series 32
The Napoleon Built-In 500 Series 32, model BI32PSS, is the stronger choice for a dedicated outdoor kitchen. It provides 48,000 BTU, a 29.5-by-18-inch main cooking area, and 786 square inches of total cooking space. The grill head measures 33.50 inches wide by 27.60 inches deep, and the listed MSRP was $1,679. Confirm the required cutout dimensions from the current installation guide before the countertop is fabricated. This is my winner for families who cook several dishes at once and want four stainless-steel burners in a fixed station.
Best for smoking and slow cooking: Traeger Pro 575
The Traeger Pro 575 makes sense when brisket, ribs, and long cooks matter more than fast high-heat grilling. It has 575 square inches of cooking space, an 18-pound pellet hopper, a 500-degree Fahrenheit maximum temperature, WiFIRE control, and a listed price of $799.99. It weighs 124 pounds and measures 41 inches long by 22 inches wide by 53 inches high. Plan a weather-protected electrical outlet, room to open the lid, and dry pellet storage. Do not bury it inside a tight masonry opening; the freestanding cart and service access are part of the design.
Answer utility and comfort questions before construction
Can the kitchen sit against the house?
Yes, but only after checking the grill manual, local fire rules, siding requirements, and the position of windows, doors, eaves, and combustible walls. A covered roof can make the area more comfortable, but it can also trap smoke and heat. Keep the grill where smoke can rise and move away from the house, then use a professional to verify any gas connection. Do not copy a clearance from a different grill model.
Do I need gas, water, drainage, and electricity?
You need electricity for lighting, refrigeration, ignition, or a pellet grill. You need a gas line only if you choose natural gas or a plumbed appliance; propane gives you more flexibility but needs approved storage and ventilation. A sink adds convenience but also adds supply, drain, winterization, and freeze protection work. If the patio is far from the house drain, a dry sink or portable water setup can be the better choice. Run conduit and capped water lines before the slab is finished, even if you will add appliances later.
How much shade and lighting should be planned?
Place the main prep counter out of direct late-afternoon glare, then add task lighting above the counter and soft, low-glare lighting around the dining area. Use outdoor-rated fixtures, weatherproof boxes, and circuits sized by an electrician. Keep lighting controls near the back door so you do not walk across a dark patio to shut them off. The best outdoor kitchen is comfortable after sunset, not just attractive at noon.
Avoid the five planning mistakes that make outdoor kitchens expensive
Start with the mistakes, then lock the drawing
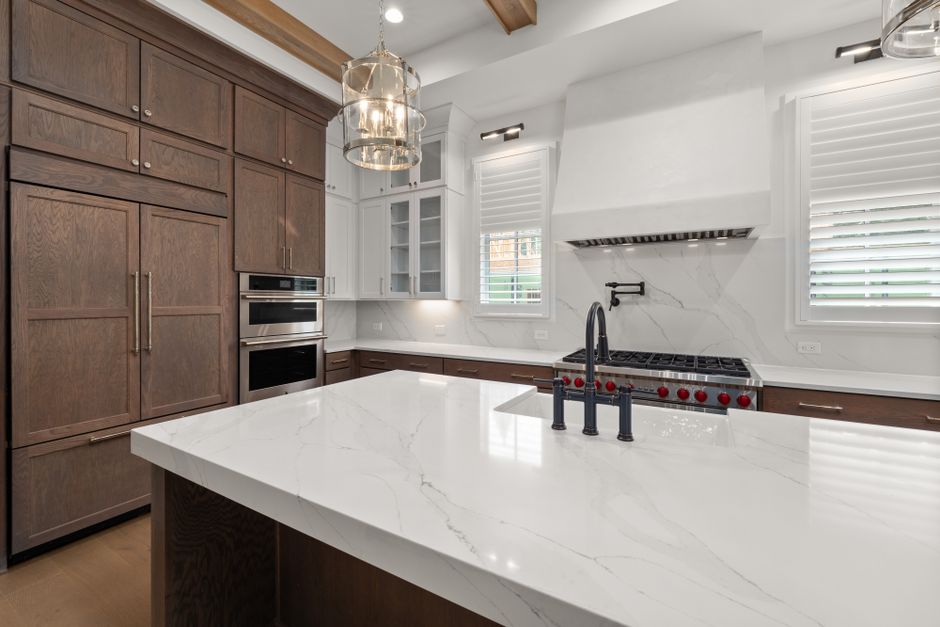
Do not buy the grill first, squeeze the island into the remaining space, or assume an indoor countertop will survive outdoors; those shortcuts create the most common failures, including blocked doors, insufficient landing space, cracked finishes, inaccessible gas valves, and counters that stain after one season, so measure the complete appliance footprint, lid swing, service opening, walking lane, and utility route before ordering anything.
Finish with a clear recommendation
Skip the sink if you cannot provide a reliable drain, skip the built-in grill if you may move within a few years, skip untreated wood and indoor quartz in exposed locations, and skip a glossy floor that becomes slippery after rain; for a typical 12-by-20-foot patio, my specific recommendation is an L-shaped layout with a freestanding Weber Spirit E-325 during the first season, a porcelain counter, stainless or masonry storage, a 36-inch prep zone, and a 42-inch guest walkway, then upgrade to a built-in grill only after the cooking pattern proves the permanent location.